My first attempt at soap making

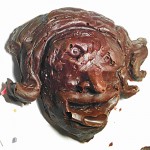
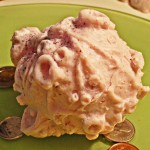
Today’s DIY project (also built around my current love of making molds) was soap making. I sculpted an ugly pig man face about the size of a small apple, making a real effort to give it a ton of detail, but without doing anything that would be difficult to mold (or extract from the mold). However, I still did have a little trouble making the two-part mold because I initially used liquid silicone (rather than the stuff with the putty-like consistency) and not only did it cure with far, far too many bubbles, but I also must have messed up the mixture because it didn’t cure fully in areas and stayed soft and gummy. Eventually I just redid the mold in the silicone that I am more comfortable with, but I learned enough from the fiasco to do it right next time. Anyway, this afternoon I cast a bar (head?) of soap in it:
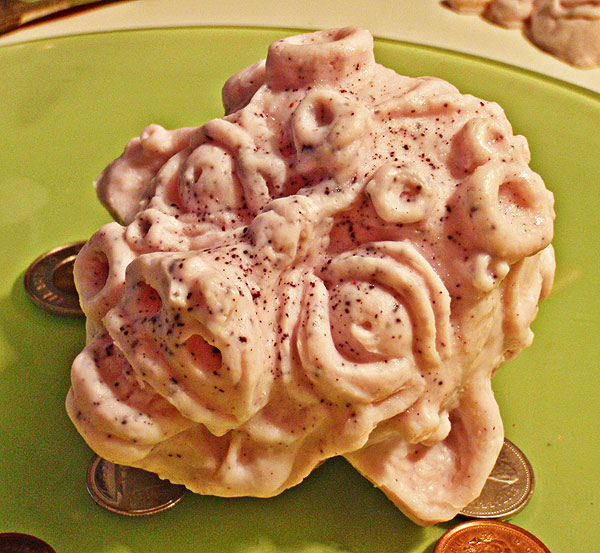
I used a cocoa butter melt-and-pour soap base (meaning that it comes in a solid block that you can melt to a liquid in the microwave, and then add color, scent, and so on before pouring it into the mold), into which I mixed camphor and eucalyptus oils, as well as some pink mica. I didn’t do a very good job mixing the mica in, so the pink is quite pale and there’s a bit of clumping (that’s what the black dots are — it’s not an exfoliant). Nonetheless, I think I did pretty well for a first attempt, especially given that the two-part mold I made is not ideal for how liquid the hot soap is. Here’s a couple more pictures:

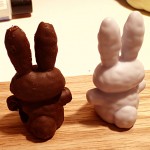
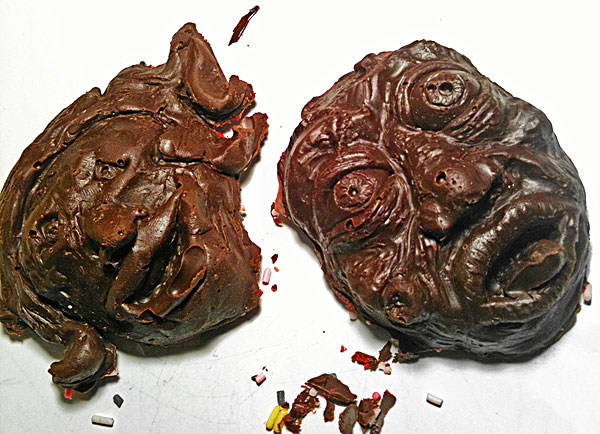
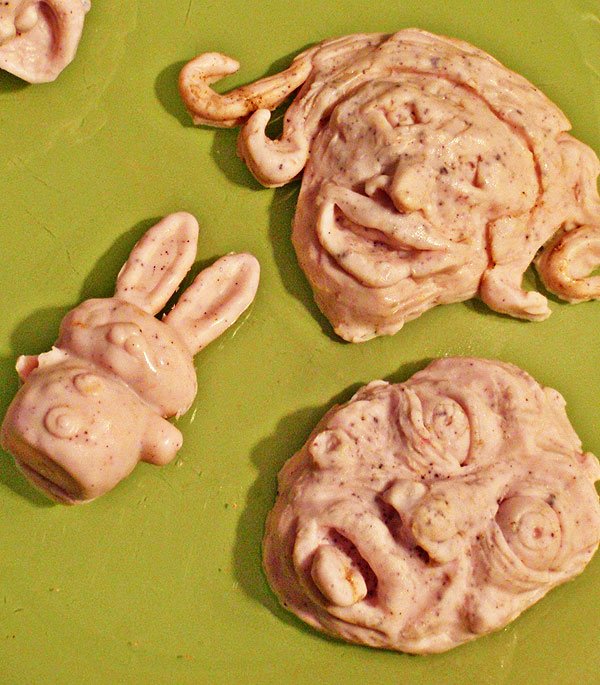
I had a little soap left over which I quickly poured into the chocolate face molds that Nefarious and I made, as well as into the two-part bunny mold. The faces turned out great, better than they did in chocolate, but I was not so lucky with the bunny. I had a little trouble mating the two halves together, and lost some of the soap in the process. The end result of that error was that one half of the bunny is hollow, and the one arm is damaged. But it was a learning experience and it both showed me how to avoid this error and gave me some ideas on the best way to do hollow items on purpose.
My health has been all over the map lately with me either feeling great (I’m suspecting this is primarily due to me being excited about having all this new stuff to learn and make) and me feeling that I’m about to drop dead in a pool of vomit. But assuming I can find an hour tomorrow where I’m up to stomping around the kitchen, tomorrow’s self-schooling is going to be making lollipops and hard candies.

Oh yeah, and yay for a new season of Survivor. Caitlin and I watched the first season together a decade ago (and many more since then), and at least for me, I still enjoy the show every bit as much. And I still enjoy Caitlin every bit as much too!
Two Part (3D) Molding Experiments

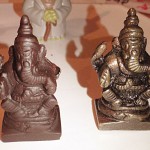
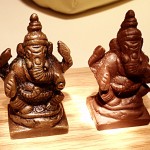
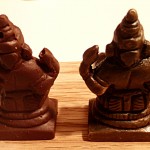
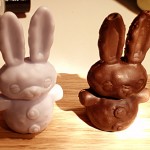
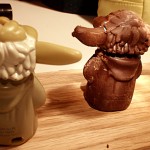
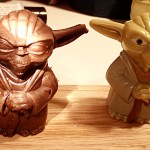
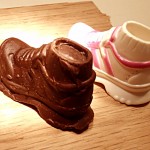
Last night Nefarious and I went through her toys looking for stuff that was relatively small, and didn’t have any odd shapes that would be difficult to deal with in terms of getting stuck in a two part mold. Below are the first four toys that we settled on. I made the molds using the same putty-like material, rather than the pourable silicone which in hindsight would probably have been better. Nonetheless, all four molds turned out fairly well. The way that I filled them was by melting the chocolate and then first painting a thick layer on each half to both make sure that there was chocolate around the perimeter without the chance for bubbles to form. Then I poured in my filling materials — pop rocks, chopped up gummy worms, and crushed pretzels in this case — and then filled in the gaps and topped them off with more liquid chocolate. It was tacky enough that it was easy to stick the two halves together without anything flowing out, and then I popped them in the fridge overnight to let them set.

Here’s the one we cast off a small copper Ganesha statue of mine. There’s some damage (like his missing arm) that’s from me not being careful enough when I took him out of the mold:

And here’s a bunny. It’s got a big air pocket in the side, which I think was caused by me not being careful enough in the filling process:

This yoda turned out nicely as well, although there was a small amount of mold material that got stuck in my first cast off of it. I suppose I just forgot to cut it off — it happened because the plastic yoda opens up so there’s a big gap along the sides that some silicone must have flowed into (there were other holes into the interior, but I plugged them temporarily with clay while casting the mold).

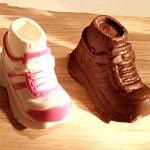
Finally, I made a copy of a shoe as well.

I think these turned out very nicely and I’m feeling pretty confident about what I can make, and my head is overflowing with a zillion ideas. I hope I don’t have to wait much longer for my various candy and soap making supplies to arrive in the mail.

Molded Chocolate Faces

As promised, here’s the other part of “Crafty Sunday” — making chocolates from DIY molds.

As I mentioned I recently ordered a bunch of silicone from MakeYourOwnMolds.com (I don’t know if they have the best prices because I haven’t really shopped around, but they had nice easy-to-follow tutorials on their page, and they shipped the supplies to me very quickly). Our first project was making a couple of ugly faces out of chocolate, but the possibilities are endless — I can cast soaps, candies, gummis, chalk, crayons, erasers, plastics, ice, and so much more because the silicone is non-toxic and foodsafe, and works across a wide range of temperatures.

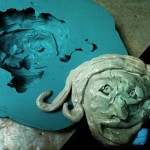
We started by sculpting the faces out of Sculpey (a polymer clay a la Fimo). After baking (275°F for about twenty minutes), we put them on a smooth flat plastic surface and coated them with a thin layer of release agent (oil basically) to keep the mold material from sticking to our bucks. To prepare the silicone, I mixed equal parts of the base and catalyst by kneading them together by hand (we used the “silicone plastique” product, which has a clay-like consistency that’s really nice to work with). This took just a few seconds to do, giving a ten minute work time followed by about an hour to cure fully at room temperature. We first took small bits and rubbed them into the detail of the faces (to make sure there wouldn’t be any air bubbles) and then pushed the remainder of the silicone on top to form the body of the mold. Once cured, it was easy to pop the clay faces out by flexing the mold, and we saw that the molds looked great and had captured plenty of detail. Because we hadn’t sealed the bucks to the surface they were sitting on, some of the silicone flowed underneath, so I trimmed that excess with scissors.

We melted the chocolate in the microwave, on medium power so as not to burn it, pausing every thirty seconds to stir it. Once it was nice and liquid, we poured it into the molds, stirring it a bit to try and clear any bubbles (ideally a vibrator would probably have been helpful to move the bubbles to the surface), and then added some sprinkles to decorate the back since these were open one-sided molds (my next attempt will be a fully 3D two-part mold). I used a spatula to try and scrape off the excess chocolate, and then popped them in the fridge to cool off and harden.

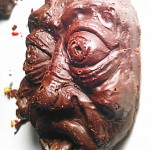
Removing them from the molds was a simple matter of again flexing the silicone, although I did break off part of the tongue of mine, and some of the hair of Nefarious’s. You can also see that I didn’t put enough effort into making sure that there weren’t any air bubbles in the chocolate — most notably you can see a big one in the lower lip of Nefarious’s, and another in the nose of mine, as well as lots of smaller ones that wouldn’t be noticed unless you knew what the originals looked like.

Click these for a close-up look at how detailed they are (they’re about two inches high):

Given that this is the very first time that I’ve done something like this, I’m very happy with the results, and my brain is overflowing with ideas… There are so many things I can create now!

Crafty Sunday

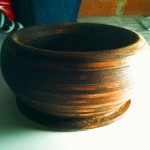
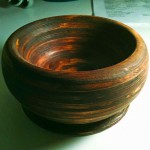
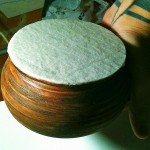
Yesterday I took a pile of scrap plywood (thus the many resultant tonal stripes, three per layer) that I had lying around and cut it up into six inch squares, then stacked it five or six high, held together with glue, and then left it clamped overnight to cure. Today I took that stack and bolted it to the faceplate of my little lathe. I wasn’t sure whether it would survive the process of rounding it, but it did, and I had lots of fun grinding it down into a bulbous fat-walled bowl. Actually, fun isn’t quite the right word — I find it very relaxing grinding away the wood to reveal the object that’s hidden inside, and there’s something… I don’t know… “honest” about it. To finish, after sanding it smooth I stained it and glued some felt-like fabric to the bottom. I’m pretty happy with how it turned out.

Nefarious and I also did another very cool project this weekend, but that’s in the fridge hardening right now so check back tomorrow. Other than that, we’ve started reading the first book in Joseph Delaney‘s Wardstone Chronicles, “The Last Apprentice (Revenge of the Witch)”. I was worried because it’s on the horror end of the fantasy genre and I thought it might be nightmare fuel, but she’s loving it, and so far I have not suffered any 3AM wake-ups. Fingers crossed. Oh, and Caitlin biked to a yard sale this morning hosted by a friend of hers that’s moving to Thailand to dedicate herself to fighting. She returned with a big Ikea lamp that’s flooding the room with a wonderful warm glow.

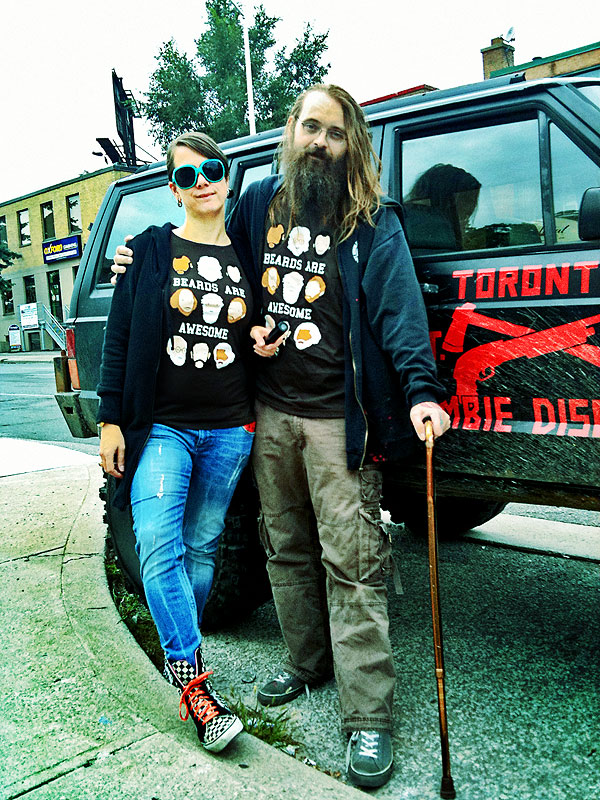
Beards are awesome

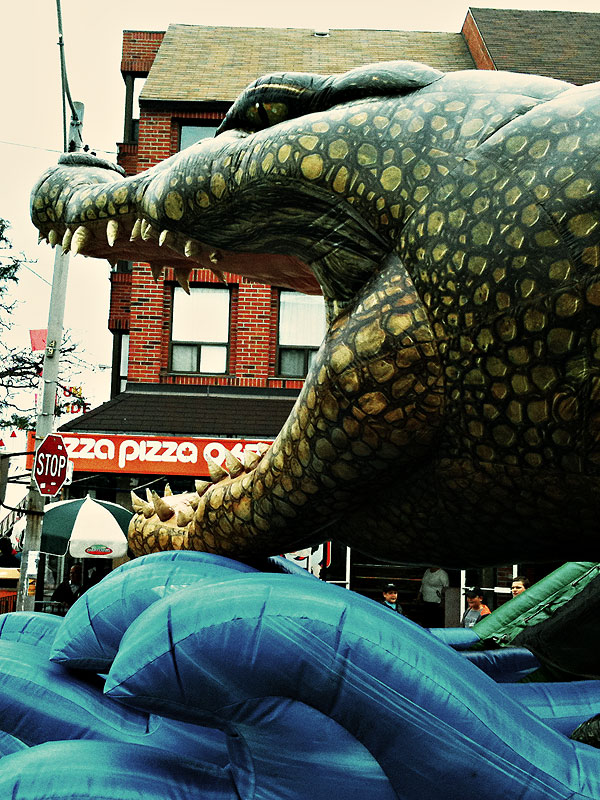
Much like last year, we all went down the street to the Toronto Ukrainian Festival. Caitlin and I dressed up in matching shirts like aging couples are supposed to, and Nefarious was eaten by an alligator, but luckily it spit her out not long afterward. After that we ate perogies, and then went book shopping. Now I am watching Breaking Bad and eating cherry pie. Not a bad day, but I wish I had not looked at my post from last year, because it just reminds me how much has been taken away since then. Still, not a bad day at all.