I’ve had the pieces lying here for a few weeks now but until yesterday haven’t had a chance to complete the assembly on my major mouse case mod, mounting the guts of a wireless mouse inside a sculpted dog skull. I had gone to Future Shop to buy myself a new mouse and they were clearing out the Logitech V220 for $9.99 (the new model, which seems identical other than having a smaller dongle, had come in). It’s fairly compact, and uses a single AA battery for power, so I thought it would be an ideal (and low-investment should I brick it) platform to try and do some mouse modding. Over the next few weeks I created a new enclosure and mechanics using a mix of cast plastic and sculpted parts and Mechano (the metal parts) to build it, and then finished it off with hand painting.
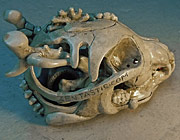
I’m very thrilled with how it turned out, so, without further ado:
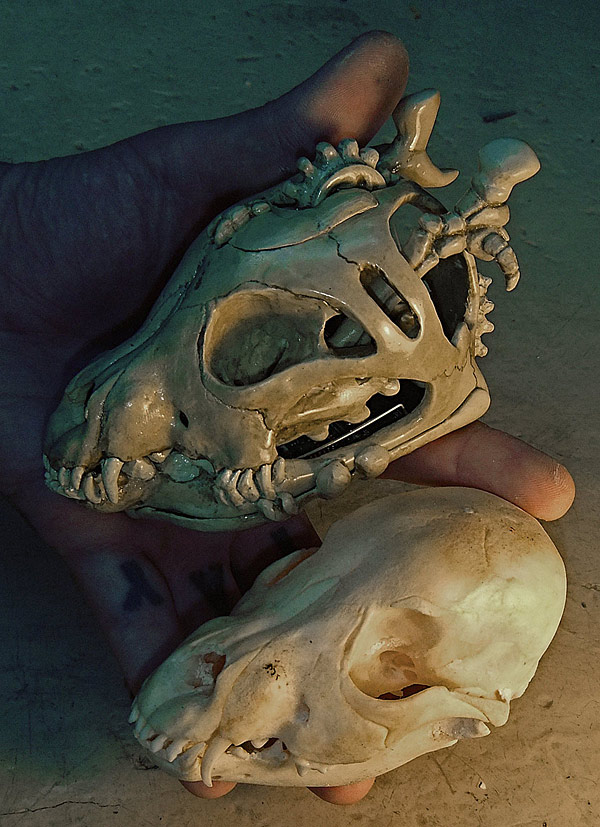
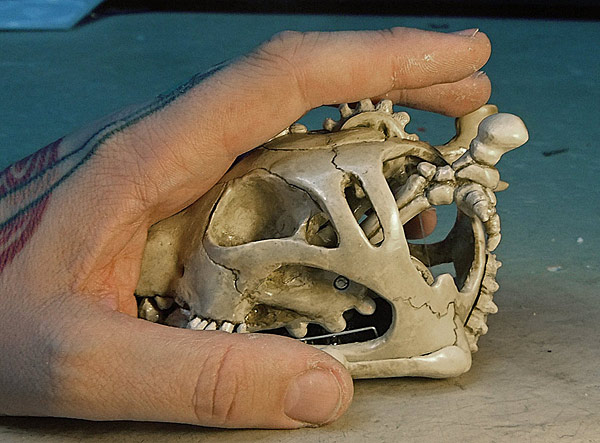
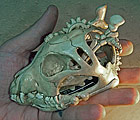
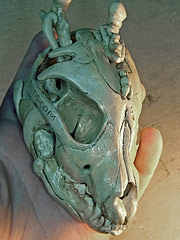
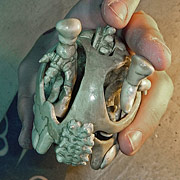
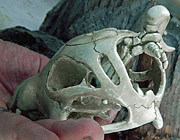
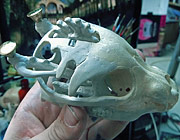
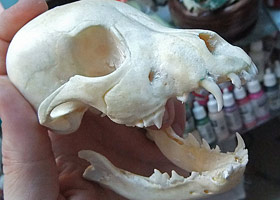
All the pictures in this entry (and after the break there are a small mountain of them) can be clicked on to see it bigger. Let me also show you how nicely the skull fits in my hand. I have a small collection of skulls here, so after looking at which would fit the electronics I picked the one that was the most ergonomic. Assuming you don’t recognize the animal without flesh, that’s the skull of a small dog, and in the picture above you can see the real bone skull that I used as my master.
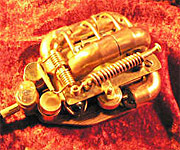
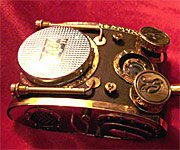
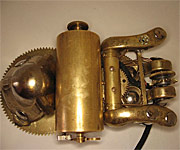
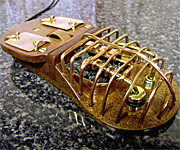
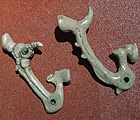
I’ve actually wanted to do a mouse mod for quite a while. There seem to be far less modded mice, but there are some absolutely stunning steampunk mouse creations out there that were an inspiration to me. I’d like to give credit where it’s due, so here are some links to other projects that I liked a lot. Click the thumbnail to jump to the site.
Impressive stuff!!! Of course google can show you more although it’s a little flooded with instructables on how to dye your mouse and other things that aren’t really true case-modding to the extent I was interested in (you may enjoy a moment of schadenfreude at the pretentious tantrum thrown by a hilarious “artiste” foolishly defending his mouse covers — mouse clothing perhaps — as something of earth-shattering importance to those who understand “art”). Those people are quite a bit more talented than I am, or at least more experienced. This is the first time I’ve ever done anything like this though, so I think I did well all things considered. I also bit off a bit more than I had to by going with a wireless mouse. If I was going to do it again, I think I’d go with a cabled mouse because it’s much simpler hardware. On the following page I have included many more shots of the finished project, as well as individual pictures of the dozen or so parts, and some of the build process as well. Hope you like it, and either way, I had lots of fun making it.
By the way, I have zero experience doing metalwork, so I wasn’t going to tackle the very nice brasswork that really put some of the other projects I just linked over the top. Nor am I particularly good at soldering so I was operating with the limitation of not being able to move the switches around and so on. But with those limitations in mind, I think I pushed my technique about as far as I could. Maybe I’ll get ambitious and take molds off all the pieces and do a run of these if there is serious interest, but I suspect it will remain a one-off.
Click to see lots more, but be warned — there really are a lot of pictures in this entry!
Finished Mouse
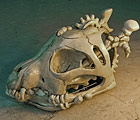
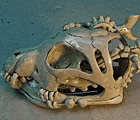
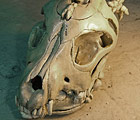
First I want to show you the finished mouse, assembled and functional with the battery installed. Each piece has been individually given four coats of high temperature automotive engine enamel. The paint coating is actually stronger than the underlying plastic — if you hit it with a hammer, you’ll break the pieces but you won’t chip the paint. Here’s the right side view.
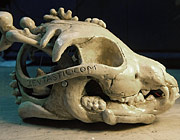
And now the left side. I wasn’t sure if I wanted to “cheapen” the mouse with any markings, and in some ways I regret doing so, but I’ve hand engraved my “ZENTASTIC.COM” url along the side of the skull. Figure that at least it guarantees me a little traffic if anyone feels like reposting this! By the way, anyone that feels like doing that, go right ahead and use any images you’d like (but please don’t leach my bandwidth) and I’d appreciate a linkback of course.
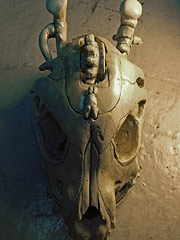
From above you can see all the controls, that is, the two mouse buttons which are suspended on the ends of faux bone levels, and then the scroll wheel as well as the scroll wheel button (which unlike the birthing mouse, is separate from the wheel itself).
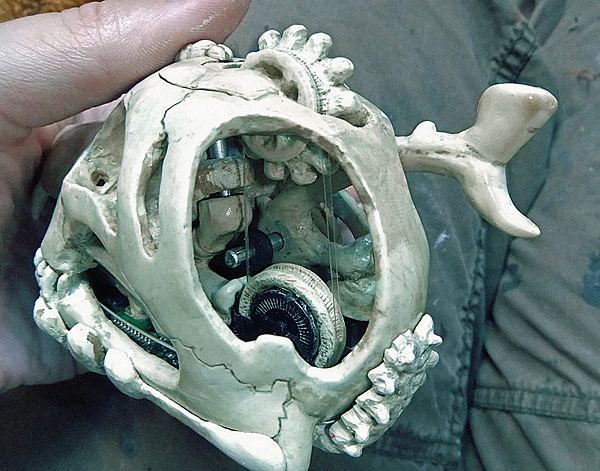
In these rear views you can get a better idea of how all the pieces fit together. Other than a single screw on the rear “spine” that holds the scroll wheel to the circuit board (this mounting method was a component of the original mouse that I was forced to retain), there are no screws at all — it’s all held together by a good fit and a couple bars that also have a mechanical purpose (the rod for the central button and the axle for the left and right levers). It took a very long time, so much filing and sculpting, to get everything to fit snugly.
The bottom plate serves to protect the circuit board and also cover it up, but also helps hold the whole thing together. I haven’t put perfect coasters or wheels on it, so it really works best on a smooth hard surface.
Finally, let me include a few more pictures to show how nicely it fits into ones hand. It’s easy to use and feels nice.
Individual Parts
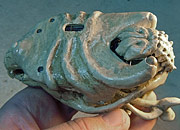
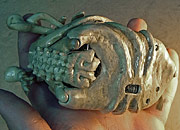
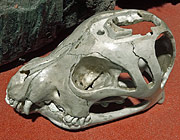
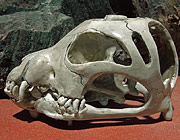
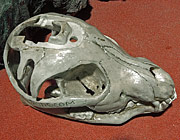
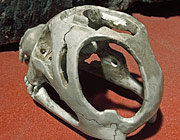
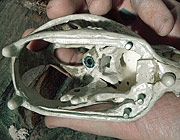
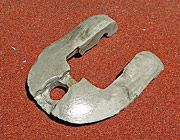
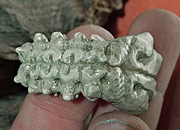
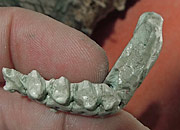
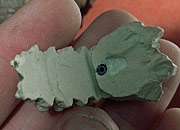
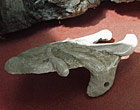
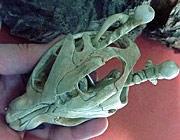
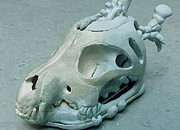
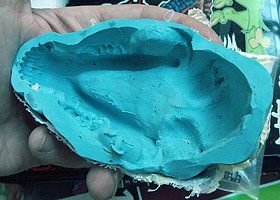
The main shell of the mouse (ie. the skull) is cast plastic, with the silicone mold being taken off a real skull (see that below). Everything else is made out of white Apoxie Clay (a two-part epoxy-type polymer clay). The parts are painted with Vallejo model acrylics with a base of ivory and then browns and yellows to age it, and then a clear high-temperature engine spray paint to protect it all. The shell by the way is not purely a copy. As you can see I have had to widen it a bit to fit the circuit board, and to make that look more interesting I’ve made multiple casts of the dog’s teeth and built a new jawline. I’ve also opened it up in the rear, added some “feet”, and all that. I’m sure it’s obvious. The last picture in the set (the U-shaped piece) is a cap that can be taken off in order to mount the scroll wheel and its button in a way that hides the axle.
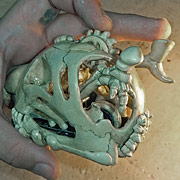
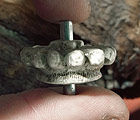
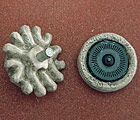
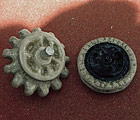
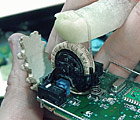
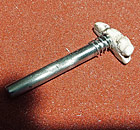
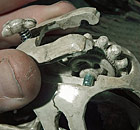
The scroll wheel is two parts, a big nubbed wheel that you turn with your finger that also has an attachment for the belt drive, and then the original scroll wheel. I’ve removed the rubber that the mouse comes with and replaced it with a faux bone wheel to accept the rubber band belt drive. You can see how that part fits onto the original location in the third photo.
This “spine” is used to hold the scroll wheel onto the circuit board. The little screw hole was originally in the case of the mouse, but I cut it out with a dremel and then built this up around it. The spine is shaped to fit snugly to the back of the main shell, which also helps strengthen the whole assembly and hold it together with a good fit.
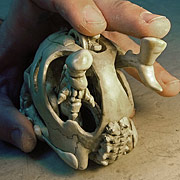
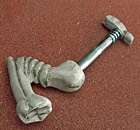
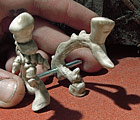
The central mouse button (the one that’s part of the scroll wheel) is actually a little odd, partially because I added it as an afterthought, since my original version of this mouse project didn’t include the wheel at all. The main bar and button should be obvious in function, and as you can see I have mounted a spring on the top of it. Usually the spring/return action is accomplished by the shape of the clicker button on the back of the scroll wheel, but I figured since my hardware is heavier this might be required. The bottom of that bar attaches to an odd dog-leg shaped attachment that mounts to the back of the scroll wheel, clipping on snugly. It has a two part purpose. More importantly, it makes it so that if you push the button, force is transferred down and onto the middle button, but it also keeps the scroll wheel assembly from being lifted up off the circuit board from the elastic pressure of its belt drive. The reason it dog legs is a little embarassing — it’s just because the angle of the bar intersects with the axle that the main button levers are mounted to. So I had to “go around it”.
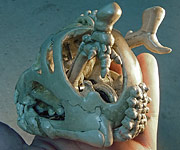
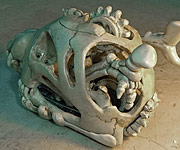
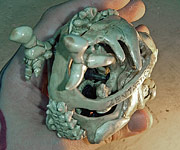
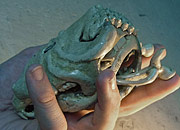
Here you can see all of those pieces assembled, and I’ve also started the process of installing the levers that click the left and right buttons.
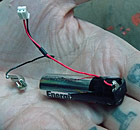
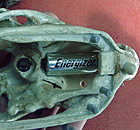
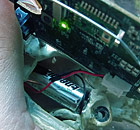
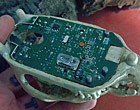
The battery luckily fit almost perfectly into the nose of the skull. The positive terminal is taped in place only out of convenience — both terminals are actually just pressure fit in place. I have to admit that with all the work I’d done I was nervous that I could have damaged the electronics. It was a relief to see that little green LED come on and discover that it worked perfectly!
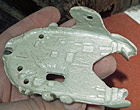
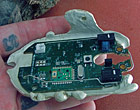
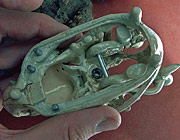
The bottom plate was sculpted by mounting the circuit board in place on the main shell (onto the metal bars that I’d sunk into the skull to match the pre-existing holes in the board) and then covering it in plastic wrap to keep it from sticking. Doing it that way meant that it was perfectly form fitting, both in terms of the circuit board dropping smoothly into place with all the components having a recess, and also mounting snugly around the mouse’s feet. It actually fit a little “too perfectly” and you have to be careful snapping it together. Push too hard and you’ll break it, which I actually did a few times. You can see where I’ve had to repair it. Thankfully the materials are forgiving and other than wasted time, no harm done.
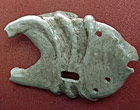
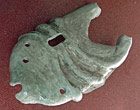
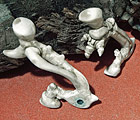
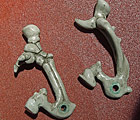
These are the button levers. As you can see, the end of the lever flips around at the fulcrum so it’s on the same side as the button, meaning that if you push down on the button, the lever pushes down on the microswitch — of course it’s been sized so that it rests on the switch. No springs are needed because the switches provide adequate resistance. These actually underwent constant redesign as I progressed, and each one is completely different (versus the obvious choice of making the whole things symetrical)
Here’s how they actually fit into the main shell, mounting on an axle/bar that runs across it. The levers also have plastic bushings built into them for strength and longevity. They’re held in place, snug against the outisde edges, by rubber bushings that fit tightly over the metal bar (these pieces are from my daughter’s Mechano set).
Construction and Early Versions
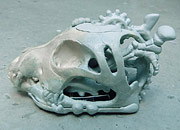
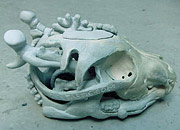
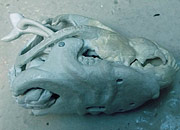
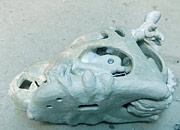
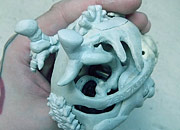
Let me begin by showing you what the mouse looked like right before I painted it. The plastic is slightly yellow and the clay is a brighter white, so you can see what’s “original”. Getting to this point was not just sculpting — after the initial sculpting there were hours of sanding and adjusting and bulking up on every component, making sure it fit as well as it needed to. Being sloppy would have left ugly pieces that didn’t work well.
Here’s an earlier version of the mouse. As you can see it does not yet have the scroll wheel in the first two images — I added them on the insistence of my eight-year-old daughter who thought it was odd to have a mouse without that. You can also see that there are brass buttons (they are drawer knobs) on the button levers. I ended up deciding to take them off. In an ideal world there would be much more brasswork on it but I haven’t built up that skill yet!
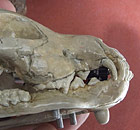
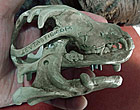
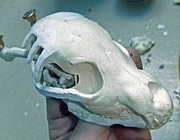
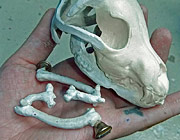
Finally, let me show you the dog skull (a real dog skull from a small older dog bought at Skulls Unlimited) and part of the silicone mold. I think that if I do this project again I’m going to try and use the real skull all the way through. It wasn’t an option this time because it just didn’t fit.
And there you have it! Thanks for reading this far! I hope you haven’t had to bear too many typos, because what with all the gazillion pictures and what a pain it is to lay things like this up in WordPress, I wasted my entire afternoon posting this and feel like there are a lot of other things I’d rather have done. Starting with lunch I suppose, so, please ignore the typos, and know that they are only there to keep me from going hungry.







7 Comments
Truly awesome. I would definitely be in if you get enough interest. Here’s hoping. :P
Have to admit, I’d be tempted (at least once) to stick a couple of marbles in the eye holes. When not in use..
PLEASE say you’re interested in making these for sale! Would you be interested in commissioned work? I WANT!!!
hi) i/m writting u fron a small country- Belarus. (if u don’t know we are almos Russia)
i’ve found this article about such a great mouse and was really shoked) it’s a Very nice work! and i want to ask if it is possible to buy such an interesying thing?
wow.
So, admittedly I sleep in very sporadic intervals. I’ve been gazing around your blog to see what’s been up with you in your part of the world and have had to stop and post “fuck yeah”‘s every so often, but this.. geezus Shannon. Seriously fucking impressive. I am all sorts of jealous over these mad skills of yours.
oh, and I havn’t even read this blog post yet cause I can’t stop being completely floored by this fucking mouse mod. For real.
Anyway- I hope you guys are all doing well.
Admirable craftsmanship, yet SO scary! Can’t really imagine myself touching a skull voluntarily.
Then again, “Alas, poor Yorick”…
I really like the mouse,you did some amazing work!
5 Trackbacks/Pingbacks
[...] like a real bad-ass while you’re formatting those TPS reports. It’s all thanks to this computer mouse built inside the skull of a dog. [Shannon Larratt] dug through his collection of skulls and came up with this one because it fits [...]
[...] [...]
[...] о процессе изготовления (с фото) можно узнать на сайте автора. А мы отметим только один момент. Сначала в этой мышке [...]
[...] Check out this dog skull! Shannon Larratt is Zentastic Dog Skull Wireless Mouse Case Mod [...]
[...] Check out this mod in more detail here at Larratt’s website [...]
Post a Comment